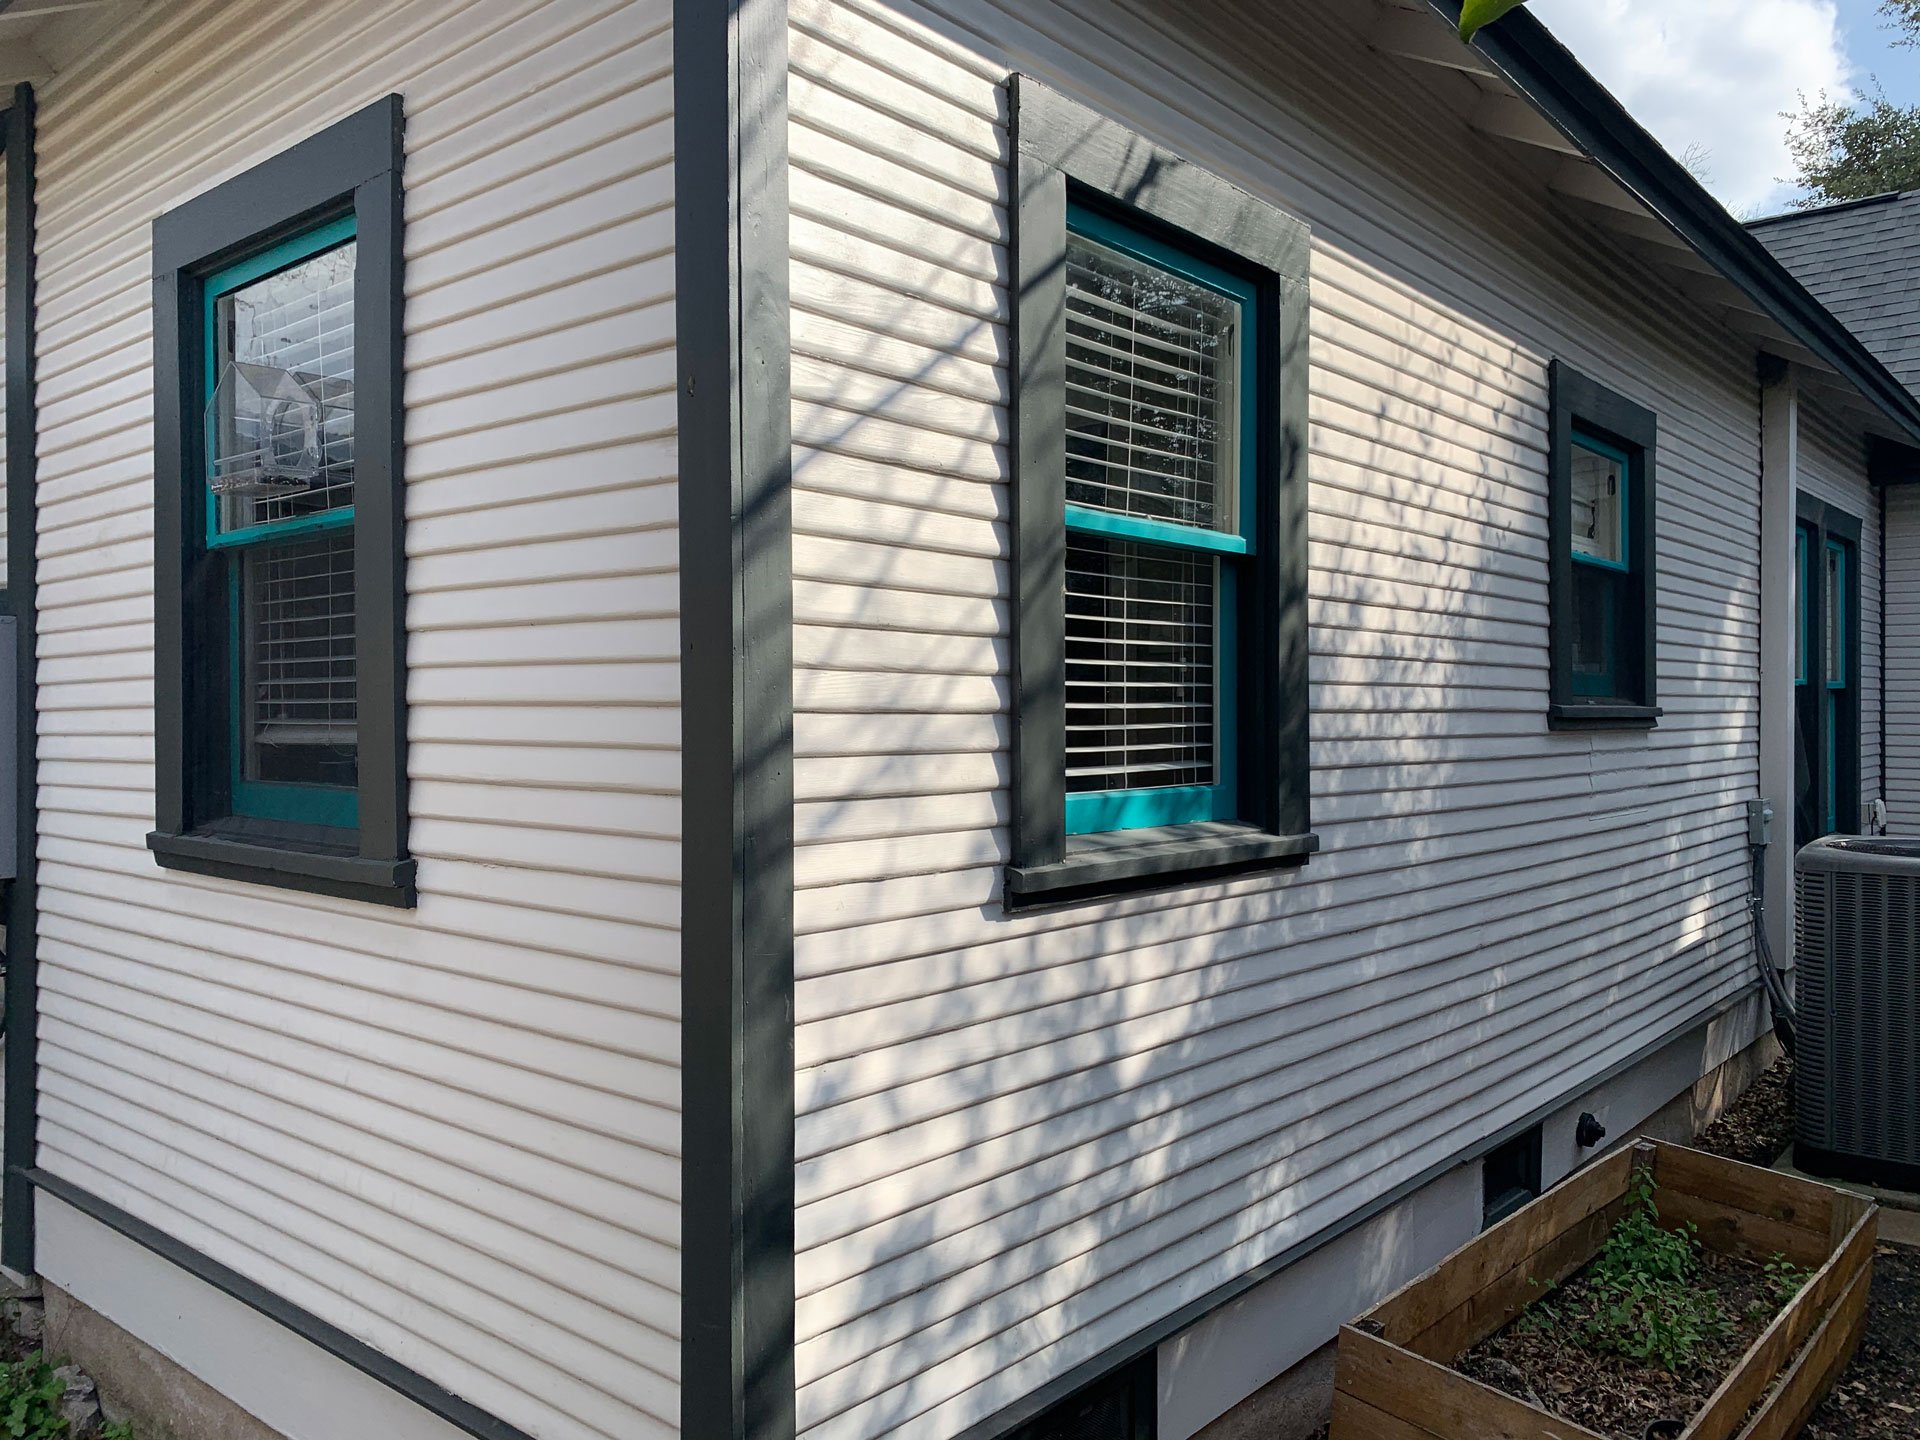
Key Parts of a Historic Double-Hung Wood Window

Key Parts of a Historic Double-Hung Wood Window
Written by Mitch Kilby, Originally Posted to lowbudgetwindowrestoration.com
New to working on your historic windows? Although you don’t need to know the name of every part on a double hung wood window to be able to work on them, it’s fun to learn a bit about their make up (and why are they called double hung anyways??!). Learning about the window components will also help when you begin restoring or repairing your window, and when you need to talk to a contractor or ask questions at the hardware store.
(And they are called “double hung” because each window technically has two sashes hanging in the frame, because each sash can open, one from the top, and one from the bottom.)
Here is a listing of the different parts of an old antique window:
Upper Sash – this is the upper part of the window that holds the glass. It slides up and down on all double hung windows. It is fixed on all single hung windows.
Lower Sash – this is the lower part of the window that holds the glass. This sash gets the most action as it is generally the sash that gets opened when someone opens their window.
Inner Rail / Inner Stop – In all my videos I call this piece the “Inner Rail,” but its technical name is the “Inner Stop.” It is the piece of wood that runs vertically up each side of the frame on the inside of the window. It holds the lower sash in place from the inside.
Center Rail / Parting Bead / Parting Strip – In all my videos I call this piece the “Center Rail,” but its technical name is either a “Parting Bead” or a “Parting Strip.” It is the strip of wood that sits in between the sashes on both sides of the frame vertically, and at the top, horizontally. It guides both the bottom sash and the upper sash when they are opening and closing and helps hold the upper sash in place at the top.
Outer Rail / Outer Strip / Blind Stop – In all my videos I call this piece the “Outer Rail,” but its technical name is the “Outer Strip” or the “Blind Stop.” It is a strip of wood that runs vertically on both sides of the frame on the the exterior of the window, and horizontally at the top, and helps holds the upper sash in place.
Trim / Casing – these are the pieces of wood that sort of act like a picture frame around the window. The technical name is called “Casing,” but I call it “Trim” throughout all my videos. There is both interior trim and exterior trim. Maybe the technical term is “Casing” because it sort of encases the window. The weight pockets sit in between the interior and exterior trim on both sides of the window.
Frame – The frame is the structure that holds the whole window. Many of my videos discuss restoring the frame. The sashes and the rails all sit within the frame.
Windowsill a/k/a Stool and Apron – In all my videos, I universally call the bottom part of the window the “Windowsill.” However, the windowsill is only on the outside, not on the inside. So sometimes I was correct, and sometimes not. To be clear, although I may call it a windowsill sometimes, the two pieces that sit at the bottom of the window on the interior are called the “Stool” and the “Apron.” See the diagram below for a better illustration of where they are exactly.
Sill – The bottom piece on the exterior side of the window is called the “Sill” or the “Windowsill.”
Sash Channel – These are the channels formed by the rails in which the sashes move up and down. On the interior, the sash channel is created by the inner rail and the center rail running parallel to each other. On the exterior, the sash channel is created by the exterior rail and the center rail running parallel to each other.
Access Plates / Window Weight Pocket Doors – These are little doors that sit on some windows (if you’re lucky) that allow access to the weight pockets. Not all windows came with these. Mine did not. To access the weights on my windows, I had to pull off the trim. This is typical and often easier.
Mortise and Tenor Joints – this is a woodworking term and is essentially the method of adjoining wood (sort of like a sandwich) to make it tighter and more durable. It’s used on almost every sash I’ve ever seen.
Rails and Stiles – the “Rails” make up the horizontal pieces on the sash, and the “Stiles” make up the vertical pieces.
If you enjoyed this explanation, I have further information in a video format on this topic, and more text, images, and videos on the entire wood window restoration process, whether you want a quick-fix to getting your old windows working again, or you are looking to fully renovate your old windows. If you enroll in one of my online courses, you’ll have your old windows looking new and working again in no time.
